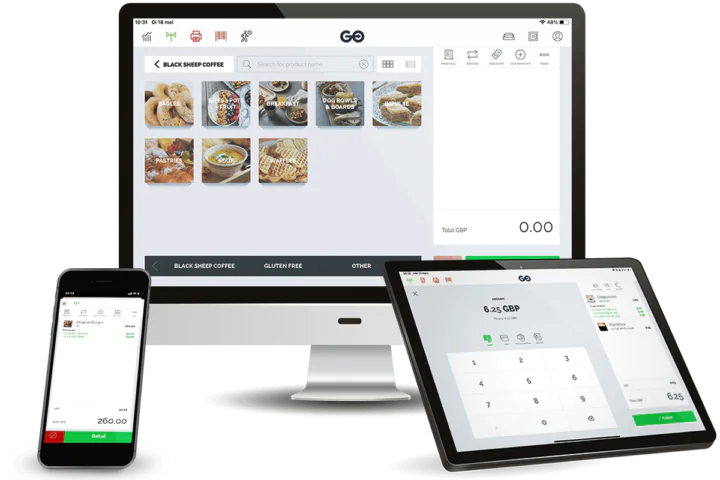
Activating ExtendaGO integration.

- Email the following information from ExtendaGO with Funbutler client name to support@funbutler.com
-Client ID-Client Secret-Shop ID-Gift card tender type ID
- Funbutler will activate the integration in Onbording state and send you an weebhook. In ExtendaGO’s backoffice, go to [Settings] → [Integrations] → [Universal Integration].
Select “Recall Link with Model Data.”
Check “Orders.”
Under “Recall Link,” enter the URL provided under “Webhook URL (Order)”. - You will also receive the Funbutler calendar URL. In ExtendaGO’s backoffice, go to [Settings] → [Configurations] and update following settings:
POS.WebInterface.Webinterface.Enable = Set ON
POS.WebInterface.WebinterfaceTitle = Calendar
POS.WebInterface.WebinterfaceURL = Funbutler calendar URL
Search after Shared.Setting.Pusher.Changes.Enabled = Set ON
Contact ExtendaGo support if settings is not available. - The following products need to be set up in ExtendaGO : This is failover and standard(aka dummy) product IDs/ article numbers. It’s a mandatory part
-Vouchers -Add-ons -Resource bookings -Packages -Activities-Classes & Events
- Match packages with ExtendaGO products in Funbutler Settings-
Cash register- Article matching. See video for more details how to manage packages and match products: Get Started With ExtendaGO - When all is ready, send an email to support@funbutler.com to go live with integration.
It’s important to note that all orders in the system before you matched ExtendaGO products with Funbutler packages must be checked in before we can go live with the integration. You can see this by extracting a report on upcoming bookings as soon as you are done matching the products with packages.
Videos
Overview ExtendaGO Video
ExtendaGO website
Add Two New Tender Types (Payment Methods)
In the ExtendaGO Backoffice, navigate to SETTINGS > SETUP > OTHER TENDER TYPES , and proceed to create two new tender type methods. The first should be named “Funbutler prepaid.” Following this, create a second Tender Type called “Funbutler giftcard.” It’s important not to use the ExtendaGO built-in voucher function for the “Funbutler giftcard”.
After the setup is complete, copy the Tender Type IDs for both the “Funbutler prepaid” and “Funbutler giftcard” methods. Email these IDs, along with all other onboarding details, to support@funbutler.com
Note: Currently, Funbutler is not compatible with the ExtendaGO gift card module, meaning we cannot integrate some functionalities of Funbutler gift cards with the ExtendaGO checkout system at this moment. Consequently, customers attempting to use Funbutler gift cards at ExtendaGO checkout will not receive the discount. Funbutler gift cards are currently only valid for online purchases or within the Funbutler calendar.
Activate receival of Funbutler preorders
The following steps are also needed to enable users to receive and pay non prepaid orders from Funbutler.
- Open ExtendaGO and navigate to the “Client Settings” section.
- Locate the settings labeled “CreatedPreoderFeatures”, “PreOrder”, “PreOrderNonFood”, and “SendPreordersToOtherShops”.
- Turn on each of these settings by toggling the switch to the “on” position.
- In the settings of the Kitchen Display System app (also known as KDS), if delivery is enabled, orders will automatically switch to “Delivered.” If delivery is turned off, orders will not appear and will get stuck under “Completed.”
Once all settings are enabled, the running man icon will pop up, indicating that non prepaid Funbutler orders can now be received.
For support and questions contact support@funbutler.com
Checklist for integration steps
- Send API integration information to support@funbutler.com
- Configure universal webhook for Funbutler webhook (Webhook is sent by support@funbutler.com)
- Set-up standard articlenumbers for “Vouchers”, “Add-ons”, “Resource bookings”, “Packages”, “Activities-Classes & Events”
- Created pre-paid tender type
- Created gift-card tender type
- POS.WebInterface.Webinterface.Enable = Set ON
- POS.WebInterface.WebinterfaceTitle = Calendar
- POS.WebInterface.WebinterfaceURL = Funbutler calendar URL
- Search after Shared.Setting.Pusher.Changes.Enabled = Set ON
- Match all Funbutler products to an Articlenumber
- Turn on the following features : “CreatedPreoderFeatures”, “PreOrder”, “PreOrderNonFood”, and “SendPreordersToOtherShops”
- Turn off “Delivered.” in the KDS (Kitchen Display System app).
