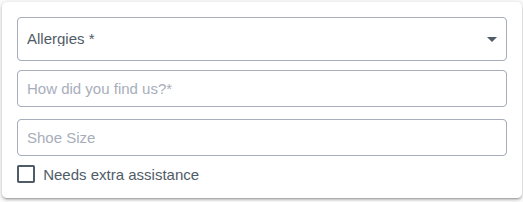
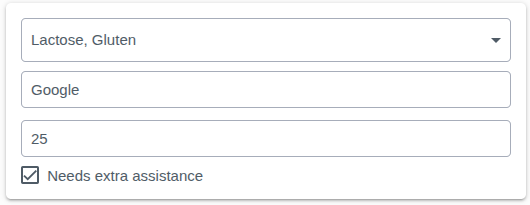
What Are Superfields?
Superfields allow admins and managers to collect customized guest information, tailored to their location’s specific needs. Follow the steps below to configure and set them up.
Superfield Input Types
Superfields can be created using the following input formats:
- Text – Ideal for short, open-ended responses.
- Multiline – Best for collecting detailed or extended text responses.
- Number – Suitable for numeric inputs like birthdates, sizes, or age.
- Single & Multi-Select – Creates a customizable dropdown menu where users can select one or multiple options.
- Checkbox – A quick and simple way to collect yes/no responses.
Creating a Superfield
- In Funbutler, go to Settings and navigate to the Superfields tab.
- You will see two buttons: Create a Field and Add an Option. Click Create a Field.
- A new view will appear (image placeholder).
- Enter all necessary details and select the appropriate input type.
- Click Save – your Superfield is now added!
Note: If you selected Single or Multi-Select, an additional field will appear. Please refer to the Options Guide below.
Configuring Where to Collect Superfield Information
Once your Superfields are set up, you need to assign them to specific packages:
- Navigate to the Package or Event you want to apply the Superfields to and click on it.
- Inside the Package or Event, go to the Superfields tab.
- Click the dropdown menu and select the fields you want to collect for this Package or Event.
- Click Save.
Now, when a customer adds this package to their cart, the assigned Superfields will be displayed for them to complete.
Select Options
If your input type requires a selection, you will need to create the available options:
- Click New Option to start the process.
- A new line will appear, similar to field creation.
- Enter the option name. There is no strict limit, but we recommend keeping it under 10 options for the best user experience.
- Add multiple options at once if needed. Once satisfied, click Save.
- Your options will now be stored and available under your Single or Multi-Select input field.
- Choose all the options you want to provide for this field and click Save.
These options will now be available for users when selecting packages or events that include this Superfield.


